Something missing from your garden? Achieve ultimate relaxation with a DIY hammock as your next weekend project.
Choosing the right rope for a hammock
Choosing the right rope for your hammock isn’t just a design choice; it’s vital to ensure safety and therefore maximum enjoyment.
A hammock is a suspended load, so it must be strong enough to bear the weight of someone’s full weight, plus dynamic movement, so a weaker, thinner rope won’t cut it.
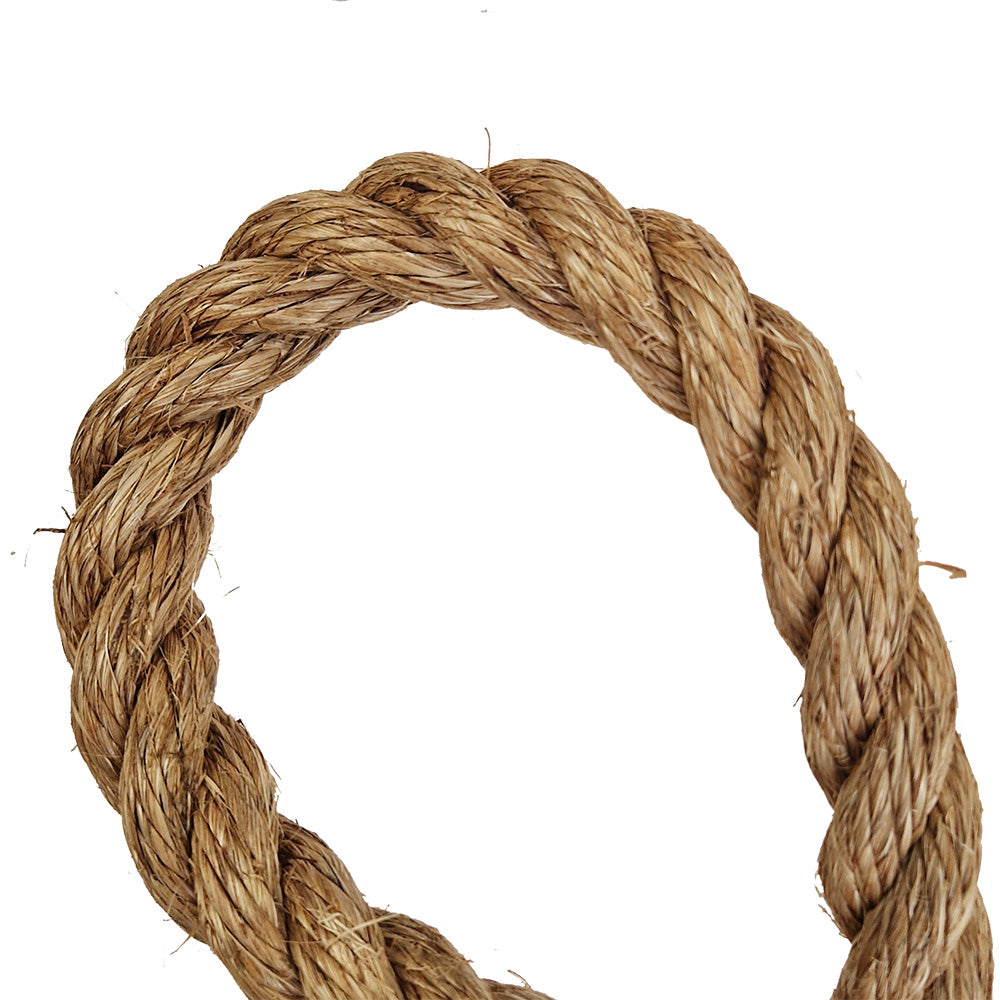
Natural fibre ropes, such as jute or Manila, are an eco-friendly choice and offer a versatile appearance. However, natural rope will degrade faster outside.
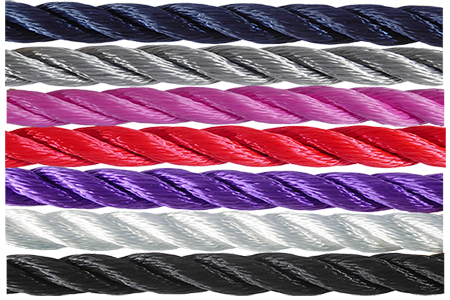
A polyhemp rope offers both outstanding versatility and strength, perfect for wrapping, suspending, and pulling. What’s more, this synthetic rope is weatherproof, meaning it will last outdoors without rotting, swelling, or shrinkage, while imitating the appearance of a natural rope. For the British climate, polyhemp is your best bet, with a thicker diameter for extra strength and grip.

Tools and materials you’ll need
To build your hammock, you’ll need rope, wooden dowels/spreader bars, metal O-rings, stainless steel carabiner/carbine hooks, a drill, a tape measure, and a lighter or a hot knife to seal the ends.
To avoid sizing mismatches, it’s a smart idea to rope and match fittings.
Weaving your rope hammock
Step 1: Cut and seal your rope
Cut lengths and seal the ends using a lighter or hot knife to stop the rope from fraying (be careful of the hot, molten end for a few seconds!).
Step 2: Attach ropes to the O-ring
Fold each length before looping through the ring with a lark’s head or cow hitch, pulling tight and repeating for all lengths evenly.
Step 3: Thread and secure the dowel
Drill evenly spaced holes across the dowel and thread each rope through in order, and knot beneath to hold the dowel in place.
Step 4: Weave the body
Row-by-row, take pairs of rope, knot, and offset the next row to form a diamond mesh. Make sure to keep knots in a straight line and tension even.
Step 5: Finish the second end
Mirror the dowel and O-ring on the far end so both ends match.

Knots you’ll use
For a rope hammock, there are a number of knots you’ll need to know about.
|
Lark’s head/cow hitch |
Used to attach each rope to the O-ring at both ends:
|
|
Overhand |
Used throughout the weave to form the diamond-net body:
|
|
Sheet bend |
Joins two ropes and secures the clew:
|
|
Clove hitch for hanging |
Used when hanging the hammock, as it grips well and adjusts easily:
|
How to hang your hammock safely
In order to hang your hammock safely, you’ll need to choose strong anchor points that are stress-checked before use, whether that be a tree, a beam, or a purpose-built frame. Simply wrap your chosen rope around the anchor and attach using a carabiner.
Ensure that you test carefully before full weight, supervise children at all times, and inspect anchor points regularly.
Caring for your hammock
To keep your hammock in top shape, there are a few ways to take extra care of your project.
For natural fibre ropes, bring them in when wet outside to store dry. Synthetic rope can be kept out, but will benefit from a routine check every so often. Regardless of the rope you select, make sure there’s no fraying, wear, or UV damage.
Build a hammock with Garden Ropes
Ready to build your own hammock? Browse our polyhemp rope collection today to enhance your outdoor space with a rope you can trust.